1. Get Basic Composition Down. The heart of a photo is its organization—the position of various components in an edge. The most effortless general guideline to learn and recollect is the Rule of Thirds. Fundamentally, you'll need to break your casing into nine squares of generally equivalent size. Attempt and adjust the subject of your photograph thusly and crossing points and envision the principle picture isolated over these nine boxes. This gives you a more emotional, outwardly intriguing shot than one where you subject is found right on target. Numerous cameras have a control of thirds lattice overlay that you can initiate when shooting.
Manage of Thirds
2. Change Exposure Compensation. For whatever length of time that you aren't shooting in full manual mode, your computerized camera is settling on choices that decide the introduction of a photograph—in English, how light or dim the shot shows up. As a rule, a camera takes a gander at a scene and tries to decide the proper presentation in view of the right lighting of a dim card, which is the reason there are exceptional scene modes for snow—without them, the camera would attempt to make the white snow dark.
On the off chance that a photograph is too light or dim you can either dive through the many scene modes that are accessible in present day simple to use cameras, or basically dial in a touch of presentation pay. Numerous cameras have a physical catch or dial for this, recognized by a +/ - image. In the event that your photograph is excessively dull, move the scale up over zero; if too light, move it down a bit.
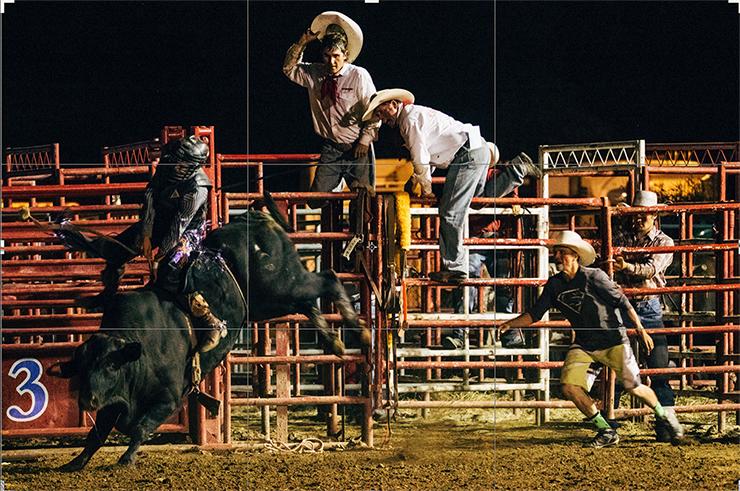
3. Pick the Right Mode. Your camera is probably going to have scores of shooting modes, extending from completely programmed operation to particular scene modes. In case you're shooting quick activity you can put the camera into Shutter Priority ("S") mode and increment the speed at which a photograph is taken—setting it to 1/125 second or quicker will solidify activity, and for truly brisk subjects (like the hummingbird beneath), use as short a speed as conceivable to stop movement. In lower light you can utilize Aperture Priority ("A") mode to ensure however much light is entering the focal point as could be expected, or in case you're shooting scenes on a tripod you can close the focal point's iris to expand profundity of field, keeping everything in sharp concentration from the closer view to the skyline. In case you're a D-SLR shooter, will probably utilize the An or S modes, while simple to use cameras will regularly include more particular modes that take into account exercises like games, low-light utilize, or scene shooting.
Solidifying Motion With a Short Shutter Speed
4. Consider Lighting. Focus on how much light you have and what kind of opinion it's maintaining when taking your photographs. In case you're shooting outside, be mindful so as not to take photographs of a man when the sun is at their back. In case you're getting a photograph before a landmark or historic point and don't have the adaptability to modify your position you can utilize the camera's glimmer to fill in shadows. You may need to physically initiate the glimmer, as there's a decent possibility that the camera will feel that it's superfluous on a splendid day.
0 comments:
Post a Comment